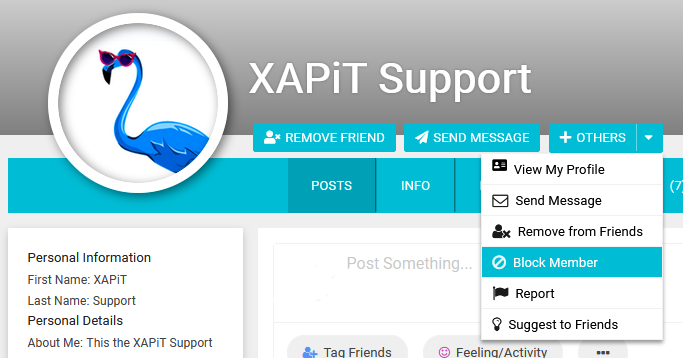
To block another user from contacting you, you must go to their profile and click on the blue Others button that’s to the right of their profile image. Once expanded, there will be an option that says Block Member... click that option.
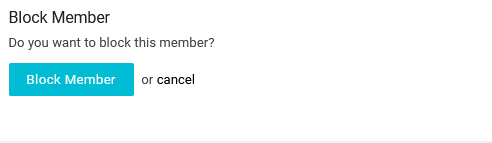
Once selected, it will ask you to confirm the block. Once confirmed, that person will be added to your blocked members and no longer be able to contact you.
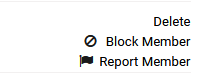
Another method to block a member that you have been messaging with is through the Block Member link in the upper right-hand corner in the message window.
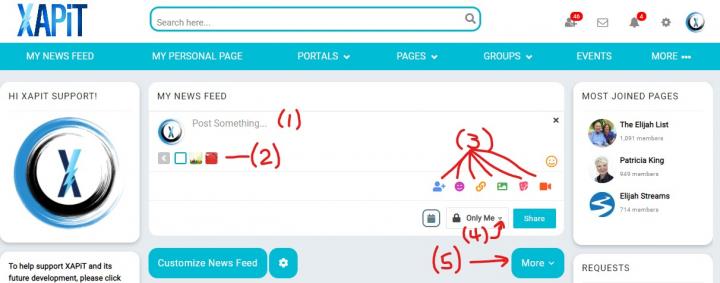
To post something on XAPiT, here are the step-by-step instructions (see the image below for visual reference):
Step 1. Enter the text in the space provided where it says, “Post Something”.
Step 2. Select a colored background, if desired. If not, skip this step.
Step 3. Select one of the 6 icons shown if you wish to customize the post. The 6 icons, from left to right, are: “Tag Friends”, “Emoticons”, “Add a Link” (like a YouTube video or news article), “Add a Photo”, “Post a Sticker”, and “Add a Video”. If you do not wish to add one of these, skip this step.
Step 4. Decide who you want to see your post. Choices are “Everyone”, “Friends and Networks”, “Friends Only”, “Only Me”, and “Custom” (you get to select individual members who can see the post)
Step 5. When you are satisfied that your post is the way you want it, click the “Share” button.
Your post is now visible to the people you chose in Step #4. Enjoy!
Here is the proper way to post a photo on your profile page in 5 steps (see image below for visual reference):

Enjoy!
The XAPiT Team


 Loading ...