Creating an Account in a Web Browser
Navigate in your web browser to XAPiT.com.
Fill in the 4 text fields listed under “Create a New Account,” which are as follow: Email, Password, and Password Again.
You must also click the checkbox to agree to our Terms of Service.
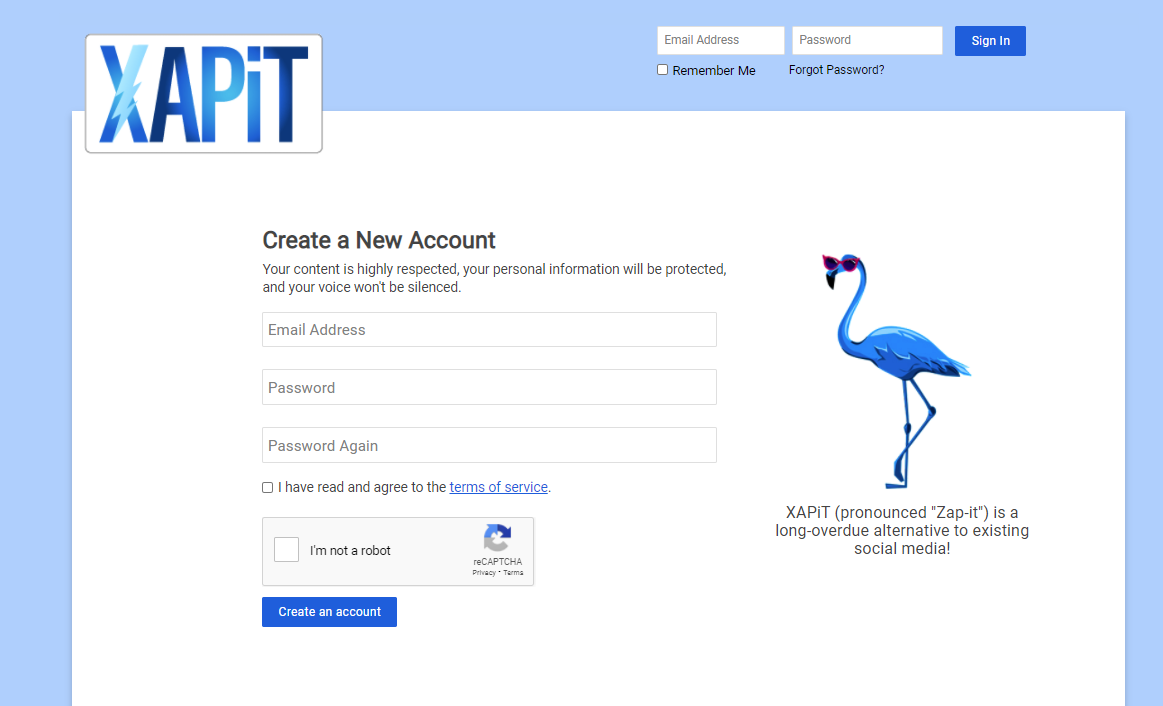
To clarify on passwords our system will accept, they MUST be of at least 6 characters, but no greater than 32 characters.
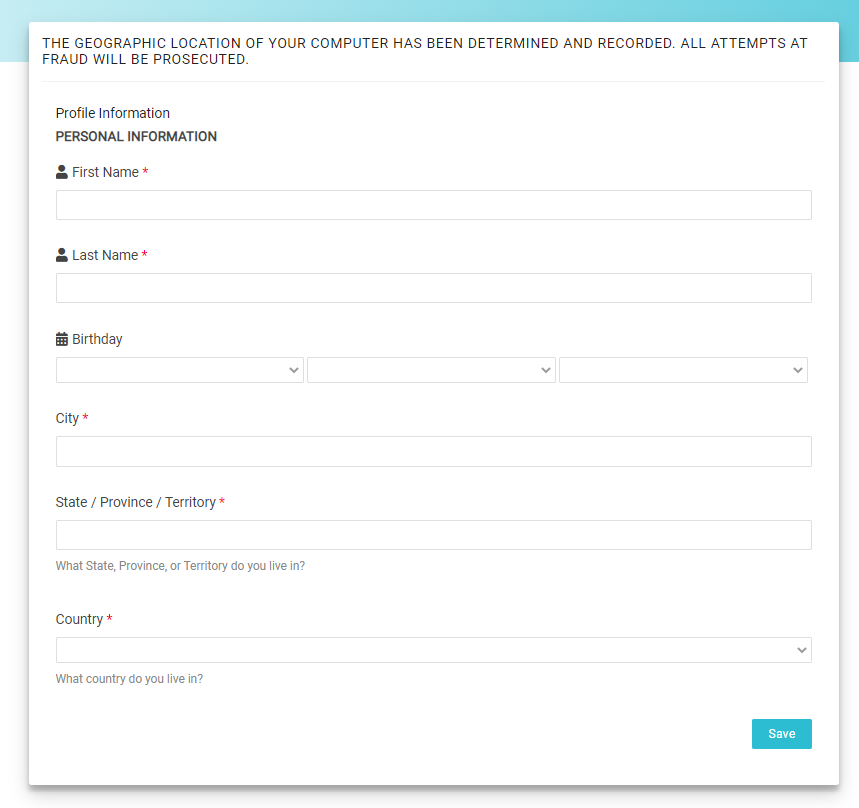
After you initially fill in those fields, you'll then be asked to fill in your First Name, Last Name, Birthday as well as your City and State or Country of residence.
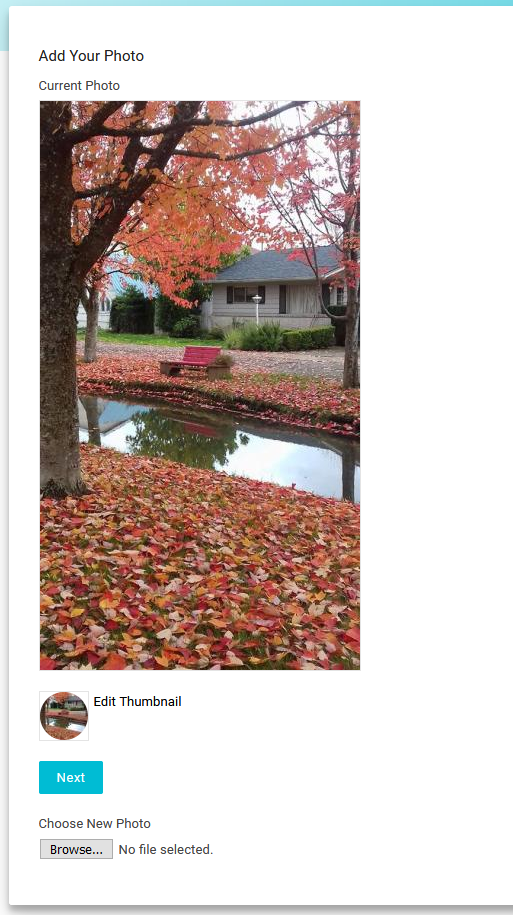
Lastly, you will be asked to upload a profile photo.
Email Verification of Account
The system will send an email verification to your email address you listed as your email address in the initial sign up process.
Click that link in the email sent to verify your account and you will now be able to login and use XAPiT.
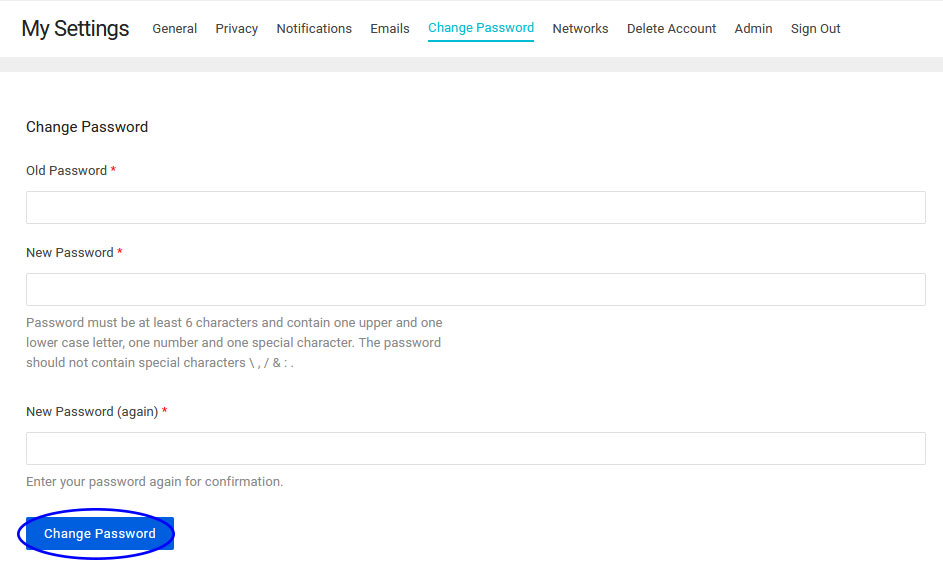
To change your password on XAPiT if you KNOW your password but wish to change it for any reason, first login with your old password and then...
Click to go to your Personal Page.

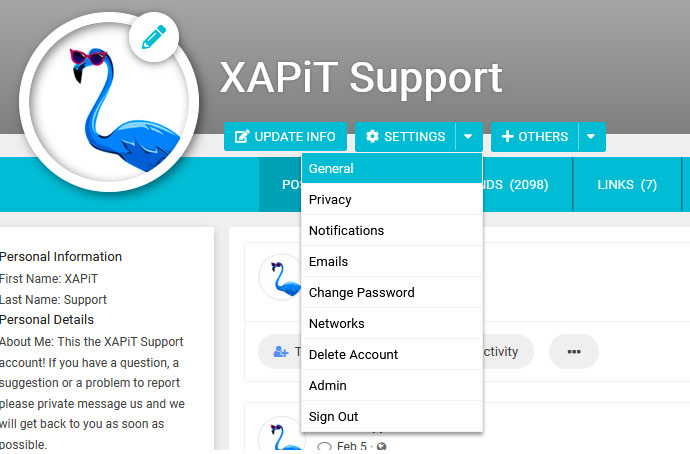
Click Settings next to your profile image and click to go to the Change Password

Enter your old password and new password.
Click Change Password.
Please contact XAPiT Support if you are having any problems with that process.
How to Delete Your Account
Navigate to your Personal Page.
Select the Settings option and select Delete Account from the menu that displays.
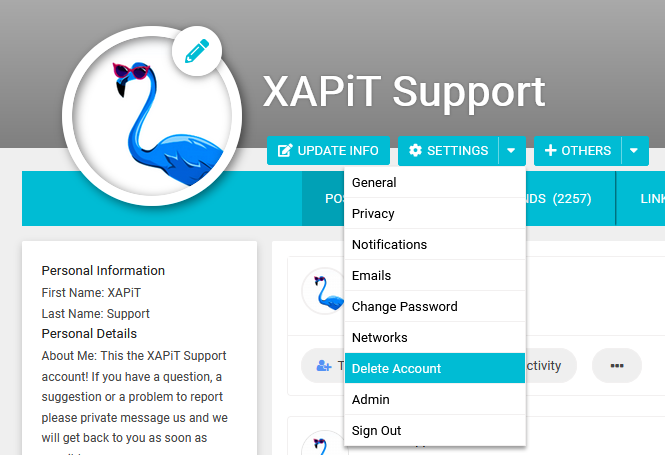
Select the button that states Yes, Delete My Account to confirm deletion of your account.

Your account will be immediately deleted and you will be logged out after the account deletion is complete. ALL posts and comments you made on the site will be deleted as well.
If for whatever reason you are unable to delete your account, please email XAPiT Support at support@xapit.com and we will be happy to assist you.
To send a friend request to another member, go to their profile page and click the "ADD FRIEND" button to the right of their profile image to send them a friend request.

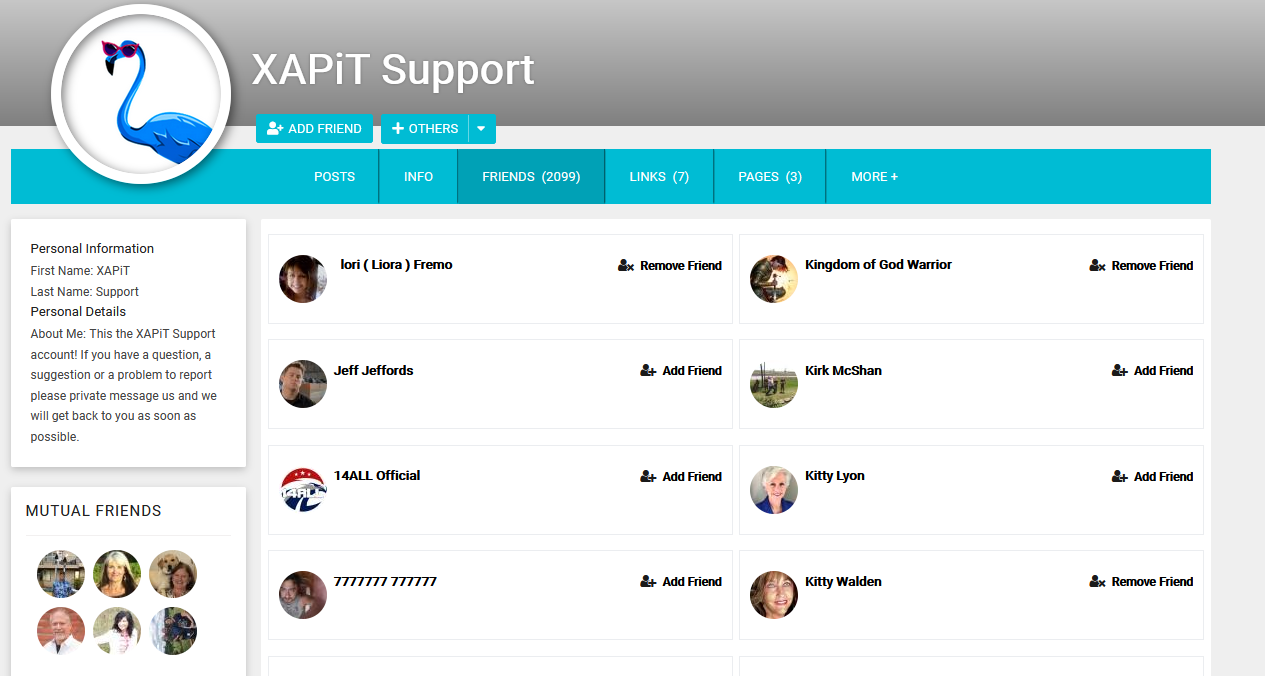
Friend Requesting Mutual Friends
You can also friend request members from your friend’s current friend list by going to their profile and clicking the Friends tab that is to the right of their profile image.
Browse to the member’s profile that you want to send a message to, and click the Send Message button located to the right of their profile image.
A pop-up window will display giving you a text field to type a message to that member. There is also a window to enter a subject line.
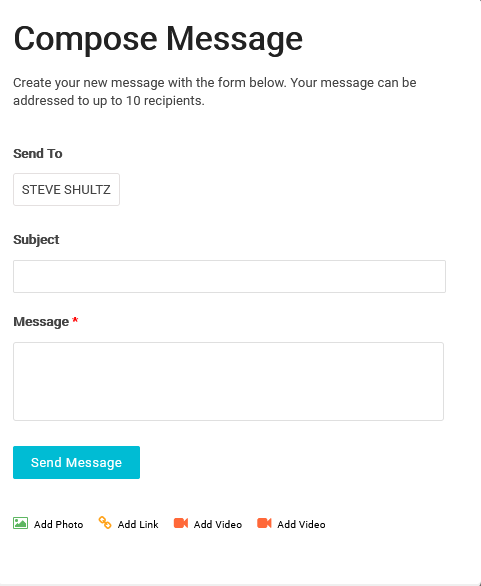
Click the blue Send Message button under the window and the message will be sent to that user.
Note: If you are not friends with a member, you will not able to send them a message.
If you would like to make a change to your name, email address or username, please follow the instructions shown below.
Changing Your Name:
Navigate to your Personal Page.
Select the blue Update Info button that’s to the right of your profile photo.

You will be directed to an area which has text input areas for your first name, last name, and other personal information that you can choose if you like.
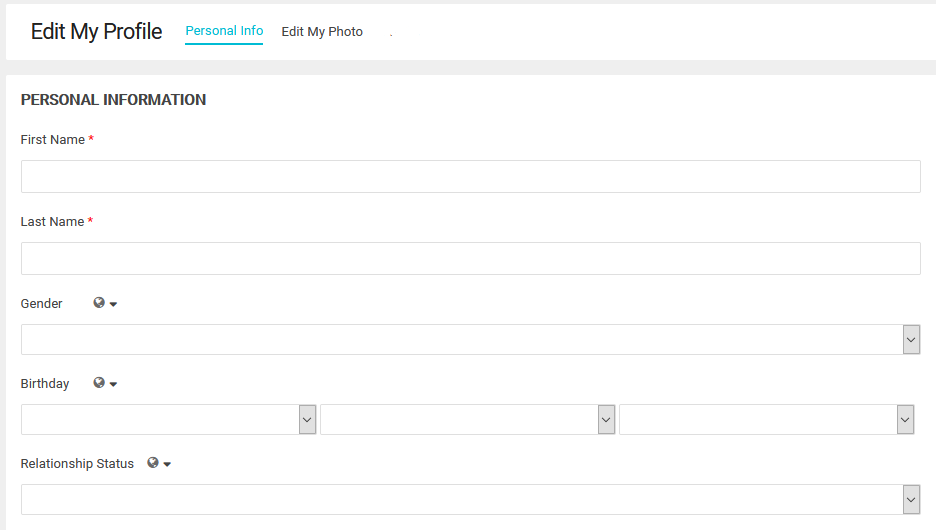
After editing the text input for your first name and/or last name, scroll to the bottom of the page and click the Save button.

Changing Your Email Address and Username/ Profile Address:
Navigate to your Personal Page.
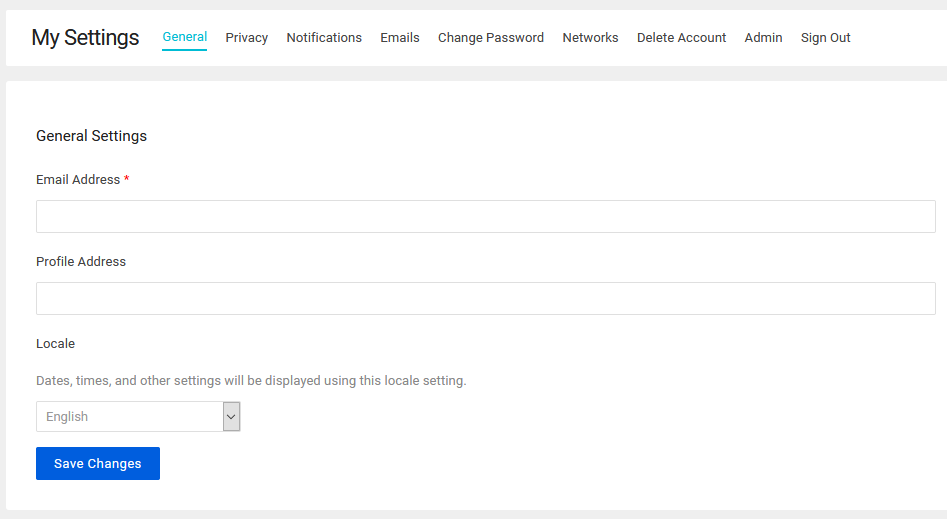
Select and expand the Settings located to the right of your profile image, then click General.
You will be directed to a page where you will be able to change your Email Address and your Profile Address/Username.
After making those changes, click the save button on the bottom of the page and your changes will take effect immediately.
If you forgot your password, no worries! You will need to go through the following steps to reset your password. Please keep in mind you will need access to your email address to complete this process.
Go to the Forgot Password link that’s displayed directly under the sign in area located in the top right corner of the XAPiT landing page.

For easy access, this is the direct link to that item: https://xapit.com/user/auth/forgot
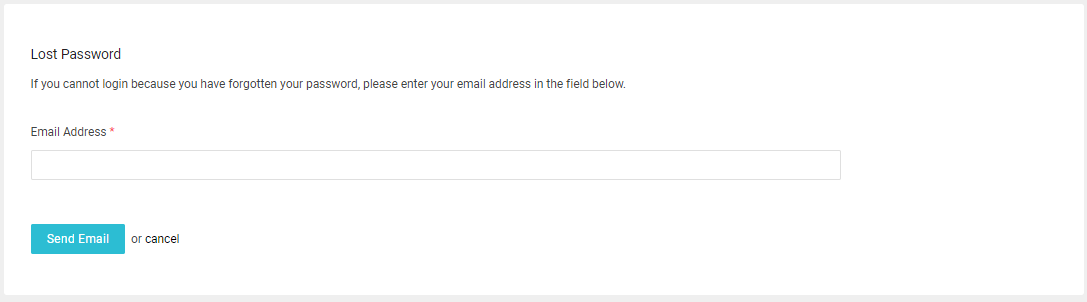
On the page that you are directed to, you will enter your email address that is associated with your account and click "Send Email". An email will be sent to you with a link to reset your password. Make sure you check your junk and spam folders, just in case!
Click the link listed in the email and you will be redirected back to XAPiT.com where you will be able to set a new password.
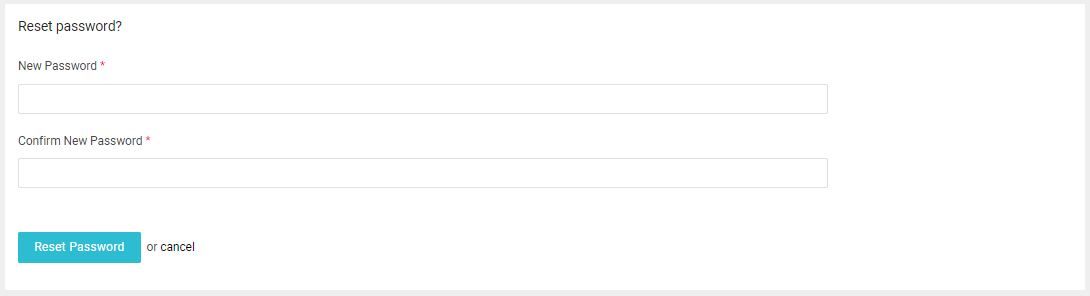
To clarify, passwords our system will accept MUST be at least 6 characters.
You will now be able to login to the site with your newly created password.
If you are still unable to sign in to your account, please contact XAPiT Support by emailing us at support@xapit.com
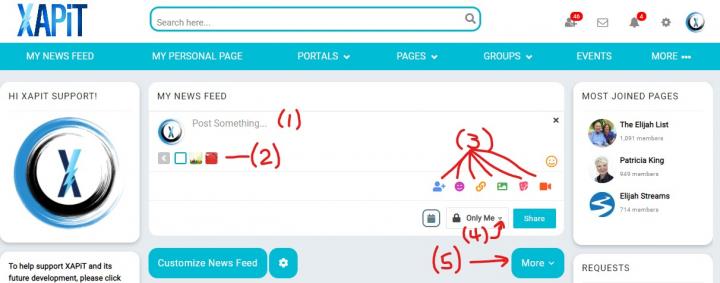
To post something on XAPiT, here are the step-by-step instructions (see the image below for visual reference):
Step 1. Enter the text in the space provided where it says, “Post Something”.
Step 2. Select a colored background, if desired. If not, skip this step.
Step 3. Select one of the 6 icons shown if you wish to customize the post. The 6 icons, from left to right, are: “Tag Friends”, “Emoticons”, “Add a Link” (like a YouTube video or news article), “Add a Photo”, “Post a Sticker”, and “Add a Video”. If you do not wish to add one of these, skip this step.
Step 4. Decide who you want to see your post. Choices are “Everyone”, “Friends and Networks”, “Friends Only”, “Only Me”, and “Custom” (you get to select individual members who can see the post)
Step 5. When you are satisfied that your post is the way you want it, click the “Share” button.
Your post is now visible to the people you chose in Step #4. Enjoy!
The below process outlines how to delete a message thread between yourself and another user:
Navigate to your Messages, by clicking the envelope icon located towards the top right side of the page

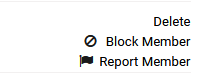
Go to the message thread in question that you want to delete and click the Delete text link in the upper right-hand corner of the message window.
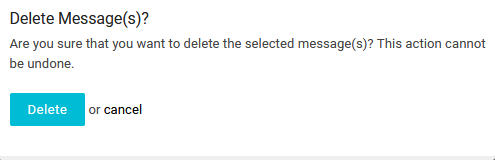
A pop-up window will appear and you will be asked to confirm the deletion by selecting the blue Delete button again. After clicking the "Delete" button, the entire message will be deleted and unrecoverable.


 Loading ...